This feature is available in paid plans- https://extendedforms.io/app/billing/subscriptions
In this tutorial, we have explained how you can “Customize Extended Forms.” It is one of the best features of Extended Forms for brands.
Follow the below steps to understand how you can easily customize extended forms as per your brand preference.
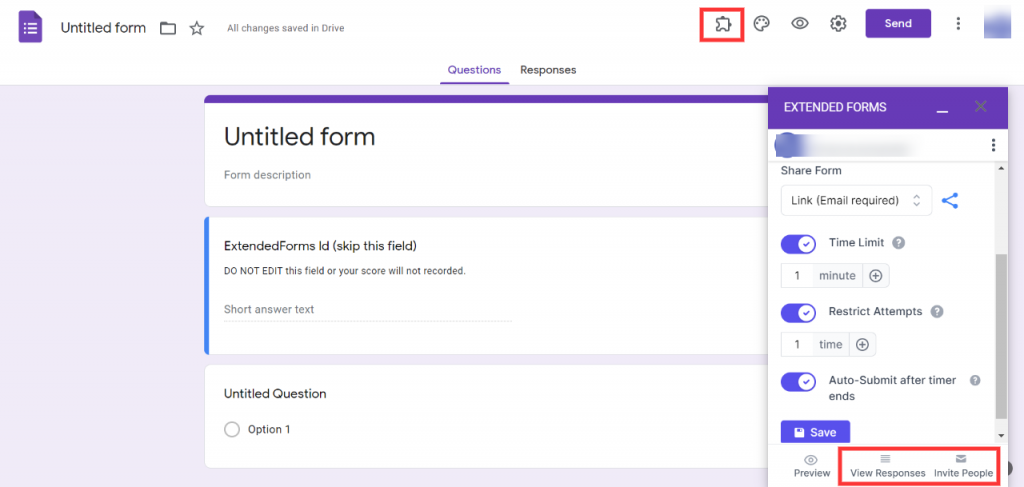
To start with, go to Google Forms (if you’re already on it then), navigate to Addons > Extended Forms > Configure. You will then see a settings box, at the bottom of it, click on the “View Responses or “Invite People” to go to the website. However, you can also directly go to the Extended Forms website.
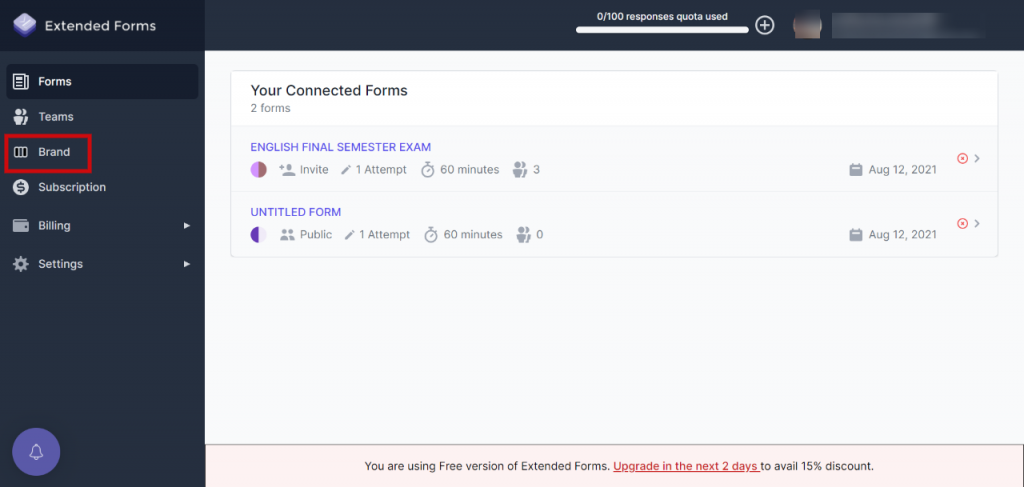
Then click on the “Brand” option which is, present on the left side of the Extended Forms website, like this:
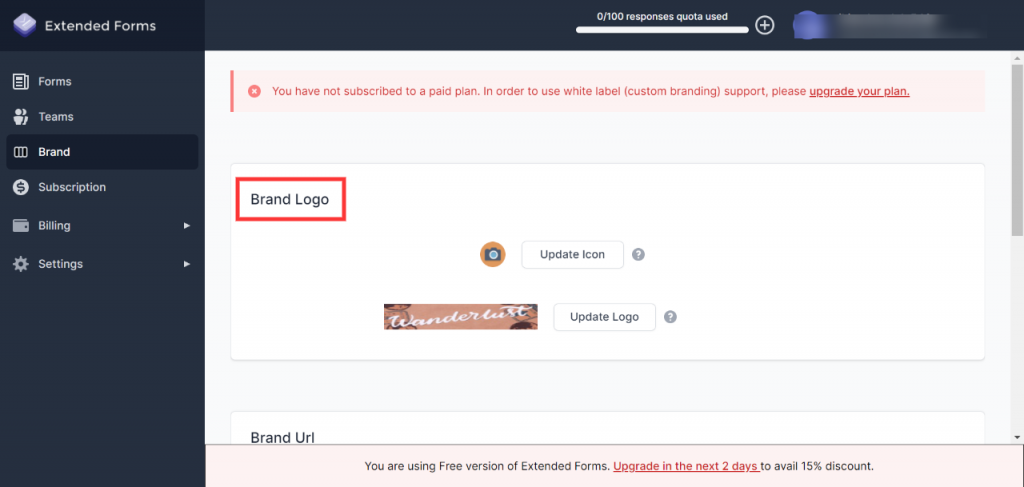
After clicking on Brand, it will open up to its setting page which has three options: Brand Logo, Brand Url, and Brand Theme.
Brand Logo
The first step to customize extended forms is to change the “Brand Logo,” you have to configure the settings according to your brand.
Click on “Update Icon” to add your brand icon, which will be seen at the forms navigation bar by users who give tests.
Further, click on “Update Logo” to add your brand logo. As shown in the picture below.
Now, it’s time to proceed to the next step which is to add a brand URL.
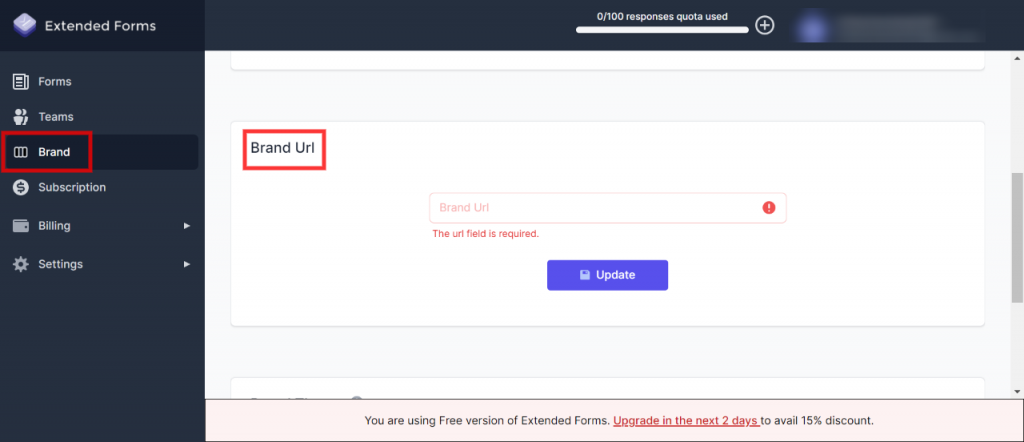
Brand URL
The next step is, Add Brand URL and once you have added it, click on the “Update” button to save. Add brand URL which directly leads users to the page you want to lead them to.
The last step in how you can customize extended forms is to “Custom Brand Themes.”
Brand Theme
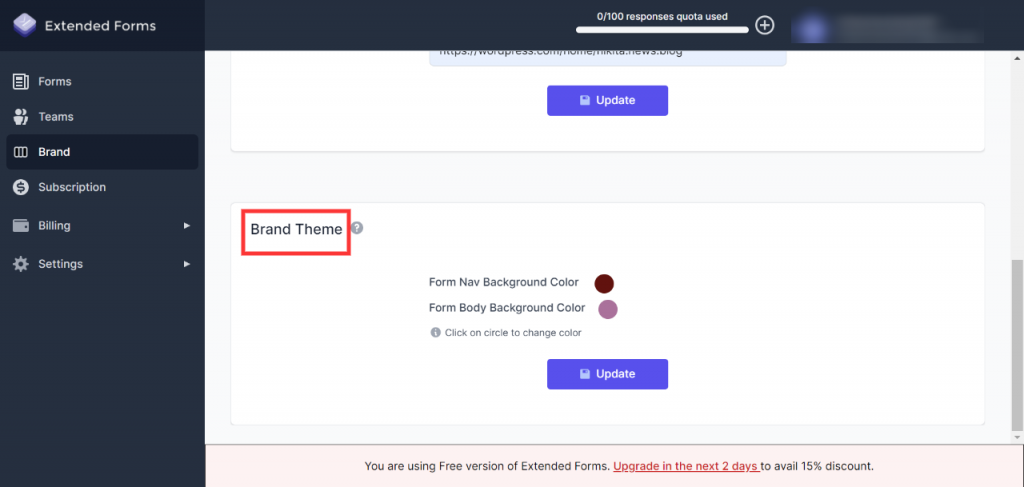
There are two options for custom brand themes.
- Form Nav Background color: colors on navigation bars will change.
- Form Body Background color: The whole body color of google forms will change.
Click on the circle to change color as per your brand preference. Then hit on the “Update” button to save your preference.
Voila! You’ve finally customized extended forms according to your brand. Now respondents will be able to see customize forms while giving tests.